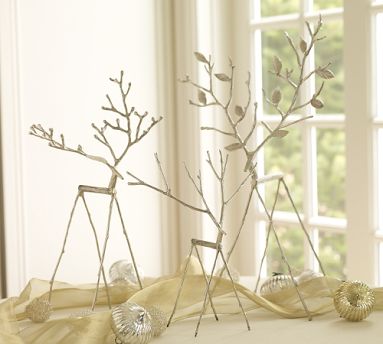
Pottery Barn’s Twig Reindeer have been around for several years now. And every Christmas, I think long and hard about buying one. But usually good sense (and frugality) win the battle, leaving me reindeer-less. The first Christmas Pottery Barn catalog arrived over the weekend, and my Twig Reindeer were front and center, scoring almost a full page of press.
So I decided it was time to bring one of these leggy little guys home with me. Instead of heading to Pottery Barn, though, I marched out into the backyard, armed with loppers and clippers. When I came back inside, I had (almost) all the materials I needed to make my own Twig Reindeer. Want to add one of these little guys to your mantle? Here’s the easy-peasy tutorial.
You’ll need:
- Your trusty hot glue gun
- Wood glue
- Spray primer & spray paint (PB carries silver and oil rubbed bronze reindeer, but he’d also look adorable in gold or white)
- Sticks
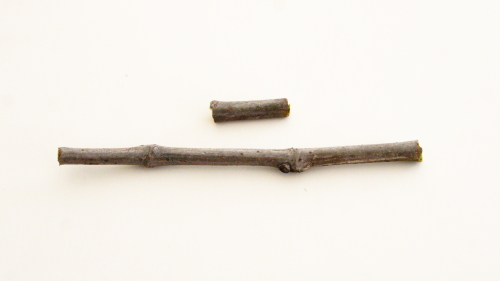
As far as your sticks go, here are the shapes you’ll need to gather:
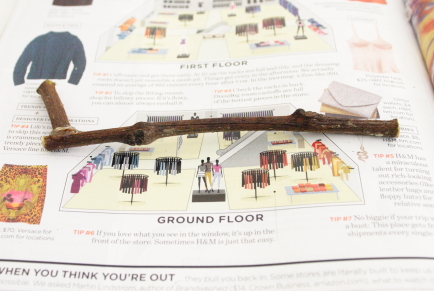
A long, straight piece for his body, and a shorter piece for his neck.
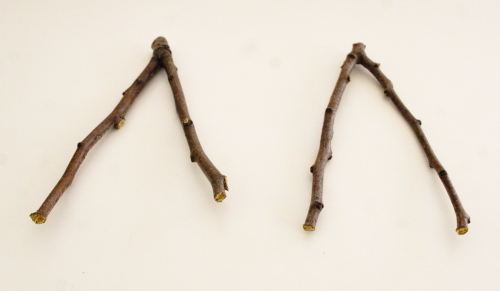
Two forked branches to use for his legs. Trim off any small offshoot branches.
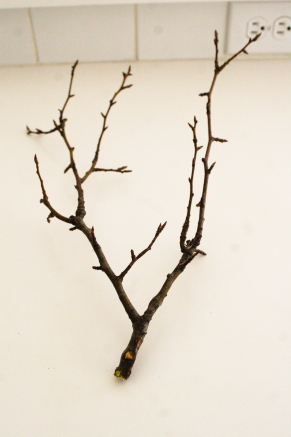
A forked branch to use for his head and antlers, with lots of tiny branches for interest. The base will be your reindeer’s head.
To get your sticks nice and dry, put them on a cookie sheet and bake them. My sticks went in the oven for 2 hours at 200 degrees, and came out perfectly. If your branches are thicker or bigger, it may take additional time. Keep an eye on the oven – overbaked sticks = a fire hazard, and if your kitchen caught on fire, you’d be really mad at me. So just watch the oven carefully, m’kay?
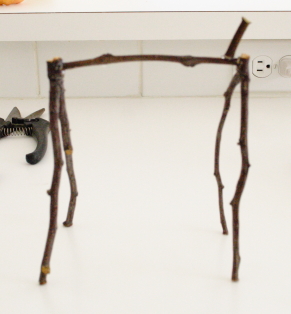
Let your sticks cool down, then attach the neck piece to the main body section using hot glue.
Then give your little fella some legs, using more hot glue. As the reindeer’s twiggy self started to take shape, I may or may not have been giddy with excitement about my progress, which meant a little bit of dancing about. Hence the blurry picture – woops.
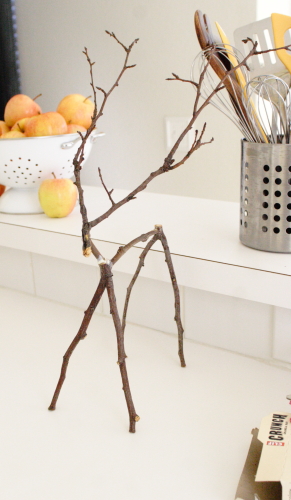
The last step is adding your reindeer’s head and antlers. You’ll want a way to support his little antlers until the hot glue has set completely (that’s what the cooking utensils in the background are doing). For good measure, you can use a small paintbrush to brush wood glue around the joined seams of your reindeer.
In case you’re wondering, I ended up moving his neck to the top of his front legs, because joining these two pieces gave me two nice, flat surfaces to glue together. Plus it gave Rudy a sort of inquisitive head tilt, which I love.
Let your little fella dry overnight, and then he’s ready for a coat of spray paint. I let mine dry on the mantle, so I could cruise by and see how cute he was every five minutes.
I went with ORB, and luckily for me, my can was primer & paint, all in one. If the smell of spray paint bothers you, like it does me, then I recommend leaving your reindeer in the garage for a couple of days to de-stinkify (technical term).
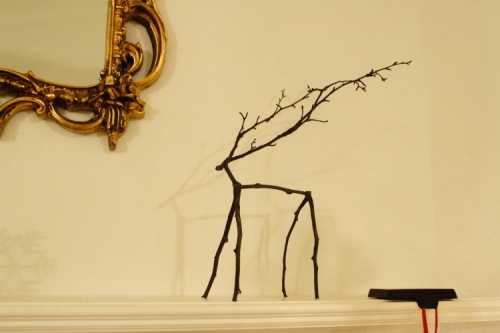
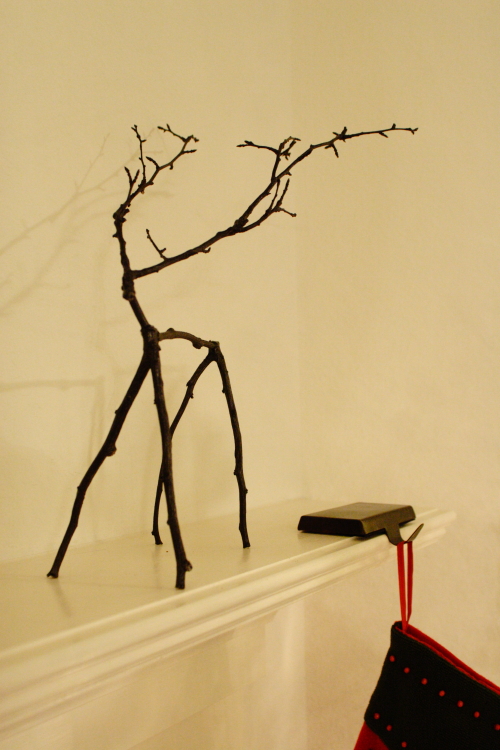
All done, and perched on the mantle, waiting for the paparazzi.
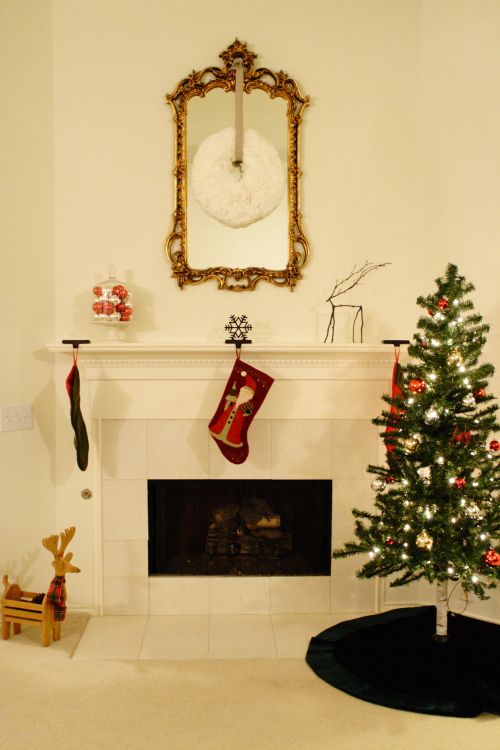
The mantle’s still feeling a little unbalanced and bare to me (and I don’t think our beloved Charlie Brown tree is helping balance the scene), so this may just be a temporary resting spot for Rudy. We’ll see!
Final price tag for this project: $0, since the spray paint was already sitting around in the garage. This Twig Reindeer measures about 17 inches tall, which makes him about the same size as currently-on-sale-for-$19 Medium version from PB. This adorable little reindeer might just be my favorite Lottery House project to date.
Linking up to Fridays at Remodelaholic and Bower Power!


he needs friends =) loves!!!!!
You’re right, Rudy does look lonely! He needs a big reindeer brother!
Pingback: Easy Pottery Barn Noel Sign Knockoff | thelotteryhouse
This is awesome! I love it! You should make a whole family. I am definitely doing this next year!
Thanks, Cara! Glad I am not the only one starting my to-do list for next Christmas. 🙂
Pingback: 50 Ways to Upcycle Tree Branches and Logs - Living Vintage